Calla Lily, Dubai Nights – 1 bulb

Sold Out
Quick Overview
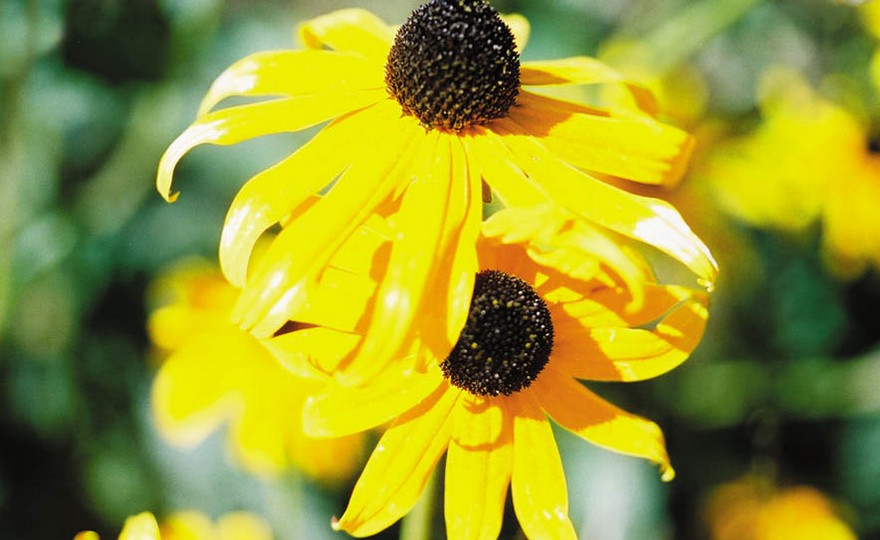
CALLA LILY, Dubai Nights
FULL SUN Native to South Africa, Calla Lilies are a relatively recent introduction to American and European gardens having reached the two continents in the late 1800s. The reason we describe this Calla as “The Calla That Celebrates All Callas” is because a fortuitous merging of color and effect occurred when this Calla was developed. Dubai Nights is primarily a deep, intense purple which gently fades to white in a very narrow band at the edge of the spathe. The pointed tip of the spathe undulates into what is often a perfect ring. Because of the intensity of the purple, your eye is drawn to the undulation of the spathe’s edge, and you are unable to ignore the architectural beauty that distinguishes Callas. The leaves are highly variegated, and the plant reaches a height of 16-20 inches.
In Hardiness Zones 4-8, start corms indoors in March-April and transplant outside when the nighttime temperatures reach 55 degrees. In Hardiness Zones 9 and higher, corms can be started outside when the danger of frost has passed and the soil has warmed. Plant the corms in organically rich soil amended with bone meal. Keep the soil moist, but do not allow the pots to stand in water. Callas thrive in containers – 1 corm per 6 inch diameter pot, 57 corms per 10 inch diameter pot.
In Zones 4-7, the corms need to be lifted when the nighttime temperatures fall below 55 degrees. Corms should be stored in a cool, dry, dark area. In Zones 8 and higher, corms can be left in the ground after the plant dies back, if heavily mulched.
| Type | Spacing | Planting Depth | Germination | Maturity | Height | Bloom Time | HZ |
| Calla | 4-6 in. | 2 in. | 21 Days | 60 Days | 16-24 in. | Mid Summer | 8-11 |
Calla Lily, Dubai Nights
Since before the Romans conquered the known world, Calla Lilies have been a revered flower, a flower of celebration and a universal symbol of purity. In Roman times, the Calla marked the passage of the Winter Solstice (December 21st) because it often bloomed around that time. In the doorways of their homes, the Romans planted Callas. The larger the Calla display – the wealthier you were. A blooming Calla symbolized “bringing the light indoors” on the darkest day of the year. Callas, in Roman times, were much larger and could reach a height of 7 feet. The wealthy would decorate the edge of the Calla bloom with gold leaf to enhance the beauty and create more brilliance.
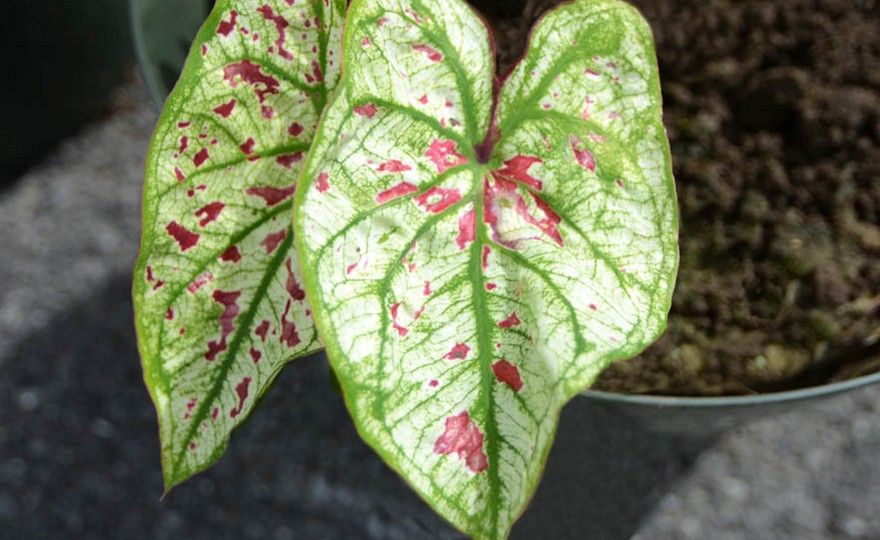
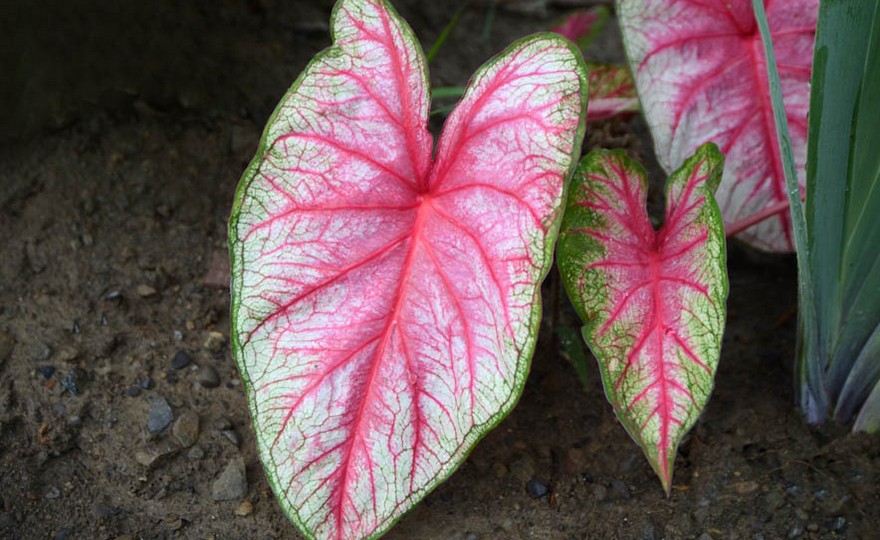
Callas are not members of the Lily Family. They are Arums and as such are closely related to philodendrons, caladiums and, believe it or not, Skunk Cabbage. Thankfully they do not possess the stench that is associated with their cousins, the Skunk Cabbages. Callas were named after the Italian physician and botanist, Giovanni Zantedeschi (1773-1846). The aethiopia term means south of Egypt and Libya – a reference to the Calla’s native habitat in South Africa.
Callas were introduced into Europe by the Romans, but because of their fragile tropical nature were not widely known. An early reference to the Calla from a French discussion of gardens in Paris occurred in 1664. The Calla became popular in the late 1800s with the advent of greenhouses and conservatories. The plant was grown for its beauty and botanical interest in such facilities.
The Calla ‘flower’ is really an ornamental leaf, similar to a flower petal and known as a ‘spathe’. This spathe surrounds the nondescript spike which is the true Calla flower. Today Callas bloom in white, orange, red, pink, magenta, yellow and black. Some are hardy in the area of the Oregon coast, but most are true tropical and should be grown as annuals or houseplants.
Planting Bulbs in the Garden
Bulbs are some of the easiest plants to grow. Fundamentally the process requires four steps.
1. Dig a hole.
2. Dust the hole with bonemeal.
3. Place the bulb in the hole.
4. Fill the hole with soil.
There are, however, some additional refinements which help produce even more lavish results and enhance protection from critters.
First, bulbs can and should be planted deeper than the instructions you receive on the package labels. An easy way to remember how deep to plant the bulb is to think of a quarter. If the bulb you are planting has the same diameter as a quarter or less, plant the bulb 4 inches deep. If the bulb is broader than a quarter, plant it 4-6 inches deep or deeper for large bulbs. As the soil compacts days, weeks and months after planting, it produces a thinner layer of soil on top of the bulb. Planting bulbs deep helps with critter control. Moles, voles, chipmunks and squirrels are lazy little creatures, and they don’t like doing a lot of digging to reach their food.
Second, bonemeal is a must. It is an excellent source of calcium and phosphorus which help the bulbs to form a strong root system and healthy stems. For large bulbs (those bigger than a quarter), use ¼ cup per bulb. For small bulbs, dust the entire surface or hole where the bulbs will reside.
Third, small bulbs should be planted in clusters of 10 or more – 1 inch apart. Large bulbs, like allium, can stand along, but create a much more pleasing presence in the garden when planted is clusters of 3-5. They should be separated by no more than 4-6 inches.
Fourth, bulbs usually multiply fairly quickly and once crowded will not produce blossoms. Plan to divide your bulbs in mid-summer to fall when the top growth has dried out.
These simple, easy, quick tasks are all that is required to produce a lovely bulb display year after year.
Planting Bulbs in Containers
If you live in Hardiness Zones 5 and higher all you need to do is mix some soil. . Check out the soil mix described in detail in our Harvesting History YouTube video. Do not use prepared soil mixes.
The Best Soil Mix for Containers
Always plant bulbs more densely in containers than in the ground. Pots as small as 6-inches in diameter can have a showy presence on a deck, porch or patio. You can use much larger pots and plant several kinds of bulbs.
Fill the pot half full, dust the soil surface with bonemeal, arrange the bulbs on top of the bone meal and fill the pot with the rest of the soil. Dust the surface of the soil with more bonemeal. Water thoroughly, but do not let the pot stand in a saucer of water.
If you live in Hardiness Zones 1-4, you must protect the pots by bringing them into an unheated garage or surrounding them with bales of straw. If you do not do this, the bulbs usually freeze and turn to mush.